Flutter Tips 64-70
June 14, 2020 • ☕️ 4 min read
#Day64 get_it
get_it helps you to access :
- Service objects like
RESTClient,DB& theirmocksfrom anywhere. (View/UI)Model,BLoCsetc. fromWidgets.
without BuildContext.
To use get_it
-
Add get_it to dependencies
dependencies: get_it: ^4.0.2 -
Provide an object/dependency to get_it
void main() { GetIt.I.registerSingleton(Player.messi()); runApp(MyApp()); } -
Get the dependency from anywhere in app with it’s type.
Player currentPlayer = GetIt.I<Player>();
print(currentPlayer)  // Player{name: Messi,shirtNumber: 10}
#Day65 Setup Linter
Lint helps you to find potential errors, bugs, & code style inconsistancy etc.
To setup lint in Flutter :
-
Add lint in dev dependencies.
dev_dependencies: lint: ^version - Add
analysis_options.yamlin project root directory.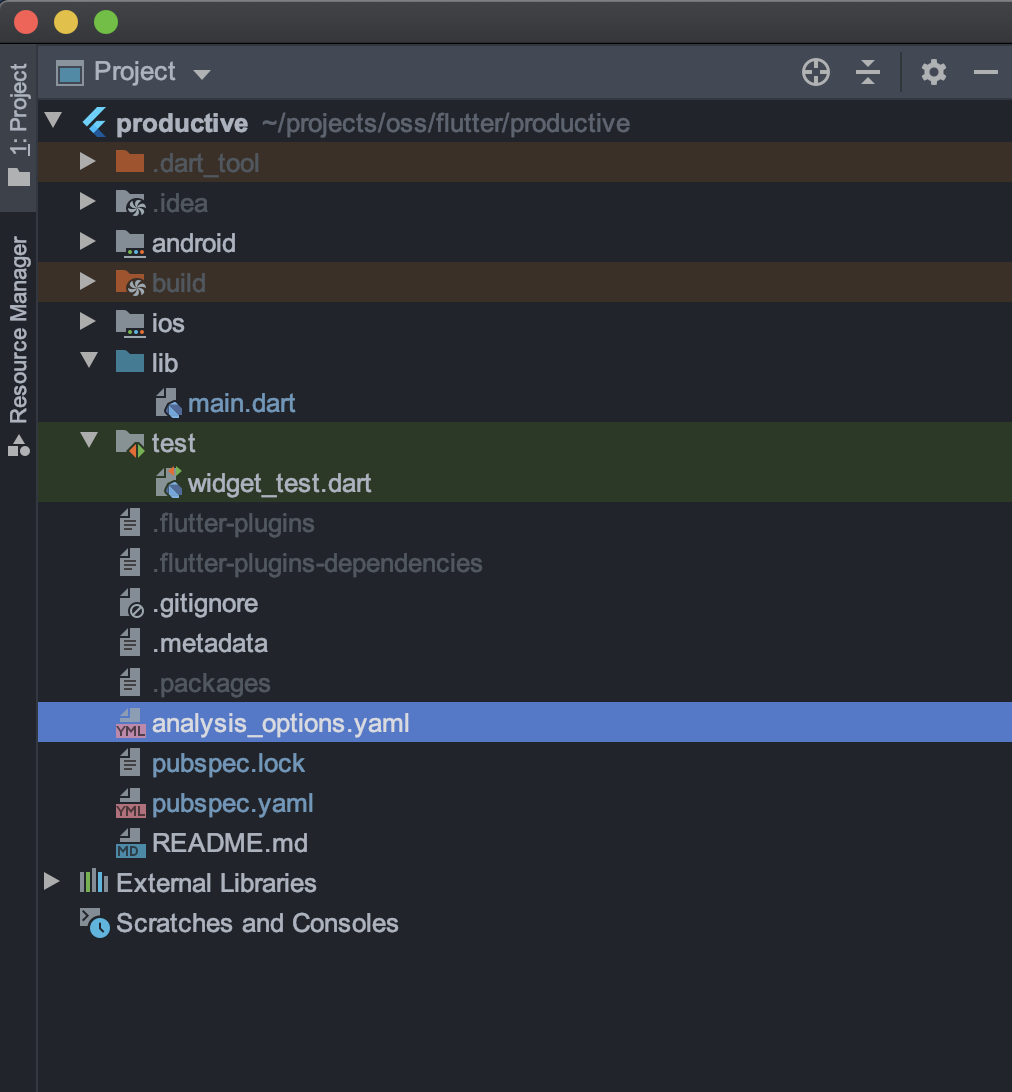
-
Include
package:lint/analysis_options.yamlinsideanalysis_options.yamland add your custom rules.include: package:lint/analysis_options.yaml # Custom Rules linter: rules: sort_constructors_first: true prefer_single_quotes: true - Done.
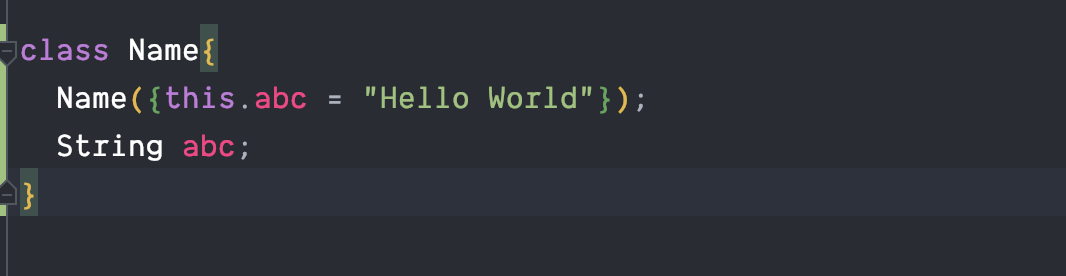
Before Lint
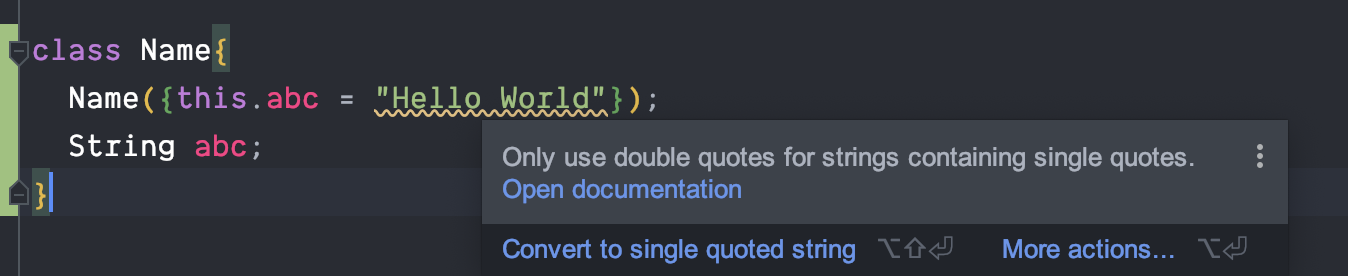
After Lint
#Day66 assert(boolean,messageIfFalse)
If some conditions must not ever occur on program, we use assert to halt the execution.
Assert condition means that there is no way we can handle exception caused if the condition fails, it must be fixed.
assert() statement also help reduce the responsibility of a program as it doesn’t need to handle every edge cases.
assert() are ignored in release/production.
Some examples :
    updateUser(User user){
            assert(user.id != null) // There is no way to udpate user without id.
            syncUser(user);
    }

    int  getRealSquareRoot(int square){
            assert(square >= 0) //square must be positive to have real root.
            return sqrt(square);
    }

    driveCar(Car car){
            assert(car.hasEngine);
            assert(car.hasFuel);
            assert(car.hasWheels);
            car.drive();
    }
#Day67 Show build Status badget on Readme
-
Create
.github/workflows/main.ymlInside your project’s root directory. or Run the command in your terminal / Powershell :md .github/workflows && cd "$_" && touch main.yml - Put the steps in this file inside
main.yml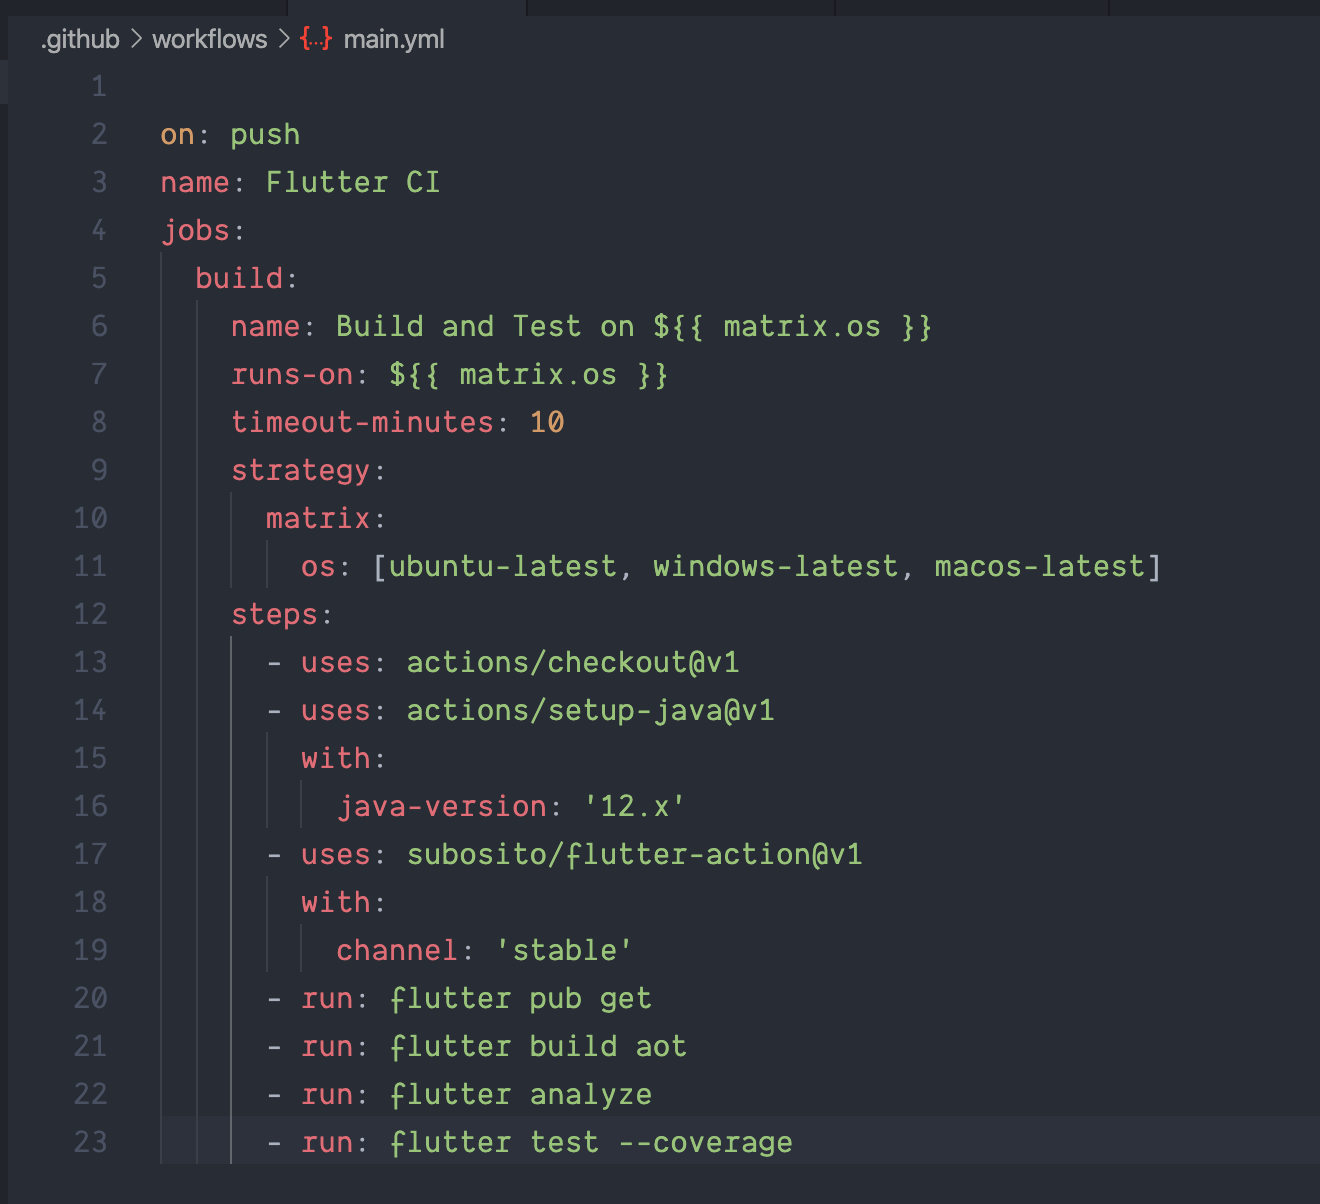
-
Add the build badge on your README.md.
[]({YOUR_GITHUB_PROJECT_URL}/actions) - Commit to Github.
#Day68 Show code coverage badget on Readme 
-
Add the following steps at the end of your Github Actions main.yml from previous tips. Find the full
main.ymlfile here- uses: codecov/codecov-action@v1.0.2 if: matrix.os == ‘ubuntu-latest’ with: token: ${{secrets.CODECOV}} #required file: ./coverage/lcov.info #optional
- Login/Sign up to codecov.io
- Go to https://codecov.io/gh > click on your username > search the repo to show codecoverage and select it.
- After that copy the Uplaod token (which should be staring at you at this point/inside setting tab)
- Go to project’s setting(
not profile setting), select “Secrets” from left navigation panel, Add new secret
-
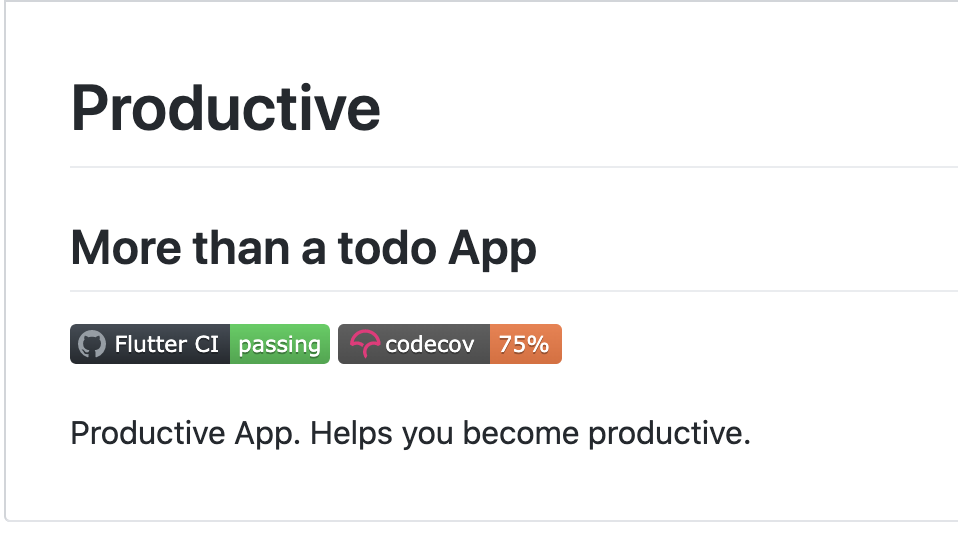
Add code Coverage badge to your github repo README file.
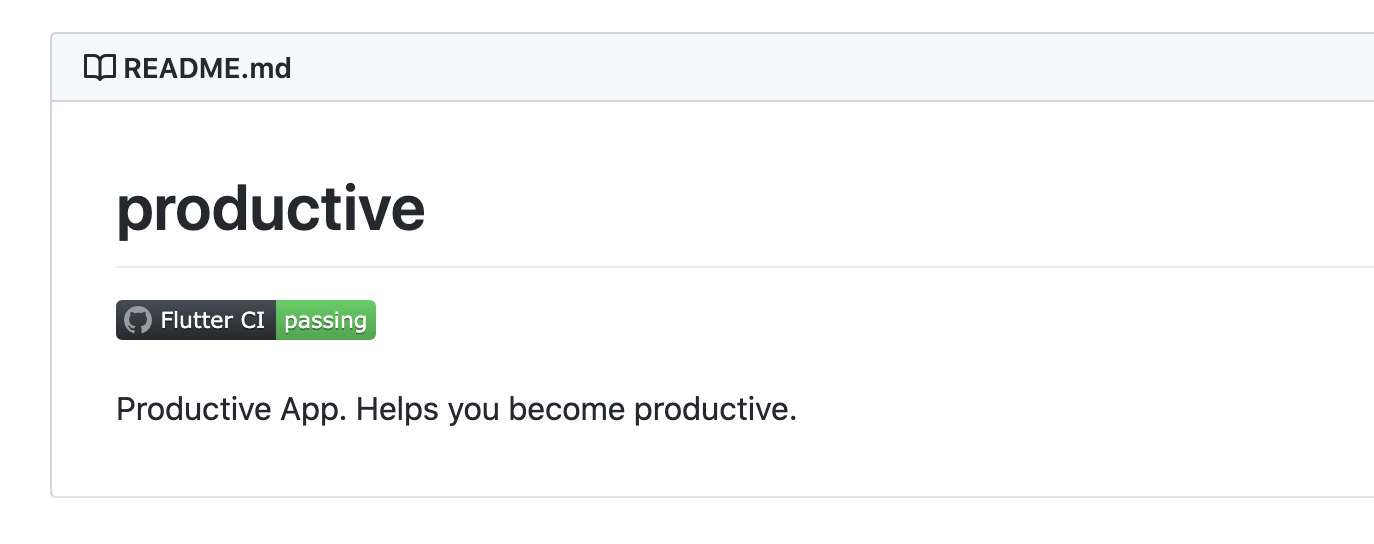
[](https://codecov.io/gh/USER_NAME/REPO_NAME) - Git Push and wait for the build to complete, you will have the badges in your github Repo like this:
#Day69 factory constructors
Instead of using static methods to create/return new/cached instance of it’s class or it’s sub classi.e. factory pattern, we can use factory constructors.
factory constructors behave like static methods but called like normal constructors. Factory constructors can also be be named & unnamed.
void main() {
      //❌ static method ❌
      var staticUser = User.getUser("John Doe");

      //✅ factory connstructor ✅
      var factoryUser = User("John Doe");
}
class User {
      User._(this.name);
      String name;

      static Map<String, User> users = {};

      //❌ static method ❌
      static User getUser(String name) => users.putIfAbsent(name, () => User._(name));

      //✅ factory connstructor ✅
      factory User(String name) =>  users.putIfAbsent(name, () => User._(name));
}
#Day70 AnimatedDefaultTextStyle
We can animate change in TextStyle with AnimatedDefaultTextStyle.
Just give the animation duration & the updated TextStyle. AnimatedDefaultTextStyle will take care of the rest.
    AnimatedDefaultTextStyle(
      duration: Duration(milliseconds: 300),
      child: Text("Flutter"),
      style: newStyle,
    )